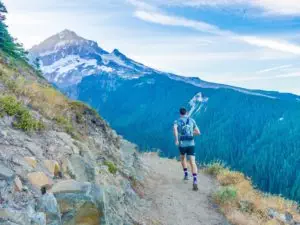
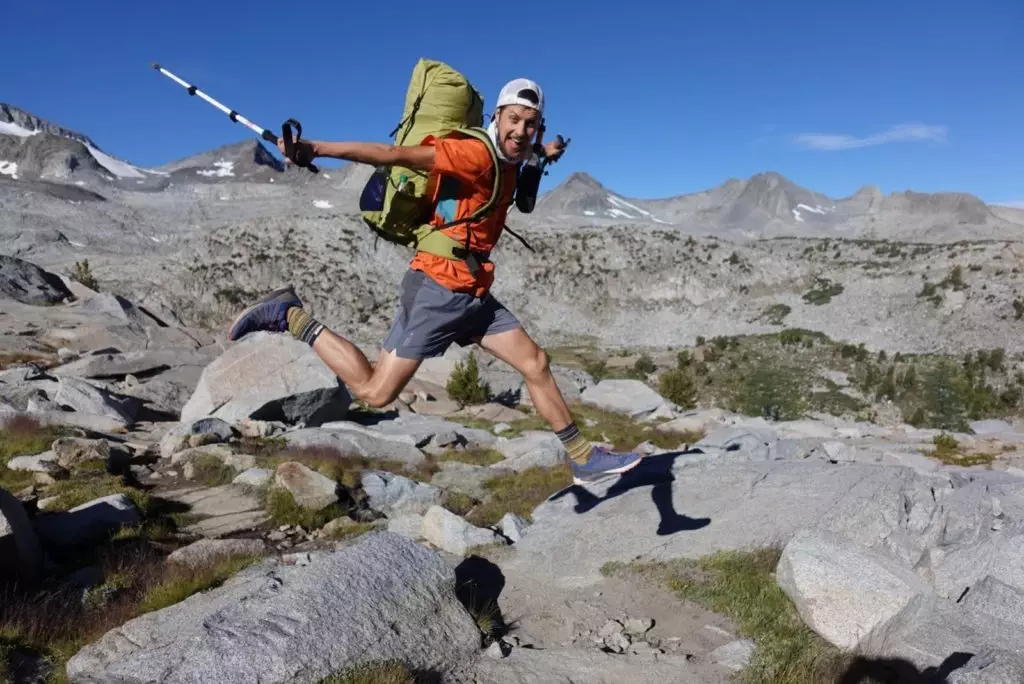
As outlined in our “What is Fastpacking?” article, this sport is the merger between ultrarunning and lightweight backpacking. It’s a sport dedicated to covering lots of ground with minimal gear in a self-supported fashion, while allowing the athlete to push themselves mentally and physically for big miles in the backcountry. It’s ideal for those who have experience backpacking and trailrunning but who want to see more in less time.
If this is something you’re interested in trying but don’t know where to start, read on for some advice on where to go, what to bring, and how to train for your first overnight fastpacking trip.
Where to go
Fastpacking trips can take place anytime and anywhere. The next article will outline some of the best routes in the U.S., but in the meantime there are a few factors you should consider when choosing your route:
Proximity. For your first trip, choose something close to home in somewhat familiar and well-traversed territory. Long-distance trails like the Appalachian Trail, Pacific Crest Trail, and other established courses make great choices because there is ample information and markings available to make planning easier.
Shorter distance. Your first trip is about familiarizing yourself with the sport of fastpacking and shouldn’t be a total sufferfest. Go for a distance that is within your capability so you can focus on other things like getting your gear dialed in and figuring out how your body responds to back-to-back hard efforts.
Bring company. Grab an experienced friend to enjoy the trip with to learn from along the way. This is also helpful for logistical reasons like parking cars at opposite trailheads and running between them. They can also assist in case of an emergency and help keep your spirits up if the conditions turn sour.
Red tape. Are there any permits needed? Travel, group size, open fire, or pet restrictions? Food storage regulations? All these variables can impact where and when you can plan your fastpacking trip and should be researched ahead of time.
Assess the conditions
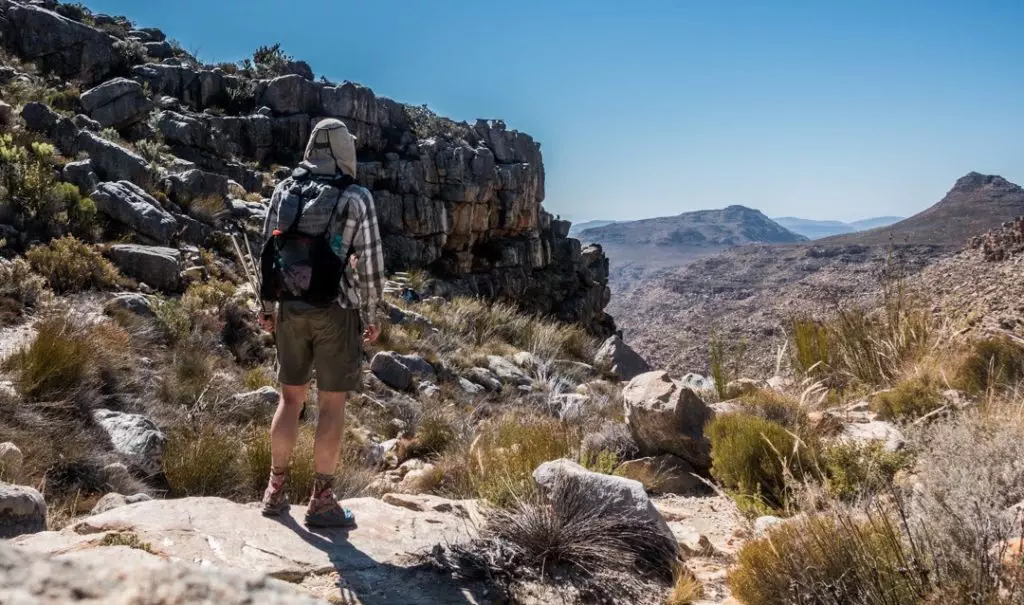
Once you’ve chosen your route, a thorough assessment of the conditions is the next step. When planning a fastpacking trip, you typically want to cherry-pick the best possible conditions because it allows you to carry fewer and lighter items. This often means mid-to-late summer when the temperatures and amount of daylight are most favorable and there is less bug pressure and extreme precipitation. This doesn’t mean you shouldn’t be prepared for possible poor weather, but do so within reason for the area.
To assess the conditions of your trip, you should explore the following attributes of your route:
- Climate
- Daylight
- Footing
- Vegetation
- Navigational aids
- Sun exposure
- Problematic wildlife
- Insects
- Remoteness
- Natural hazards
Renowned backpacker and guide Andrew Skurka offers an incredible model on his website for how to conduct this analysis and what to look out for. Not every element will be applicable to your intended trip, e.g. sun exposure is less of an issue in the Northeast than it is in the desert Southwest, but it’s helpful to think about each and how they apply.
What to bring
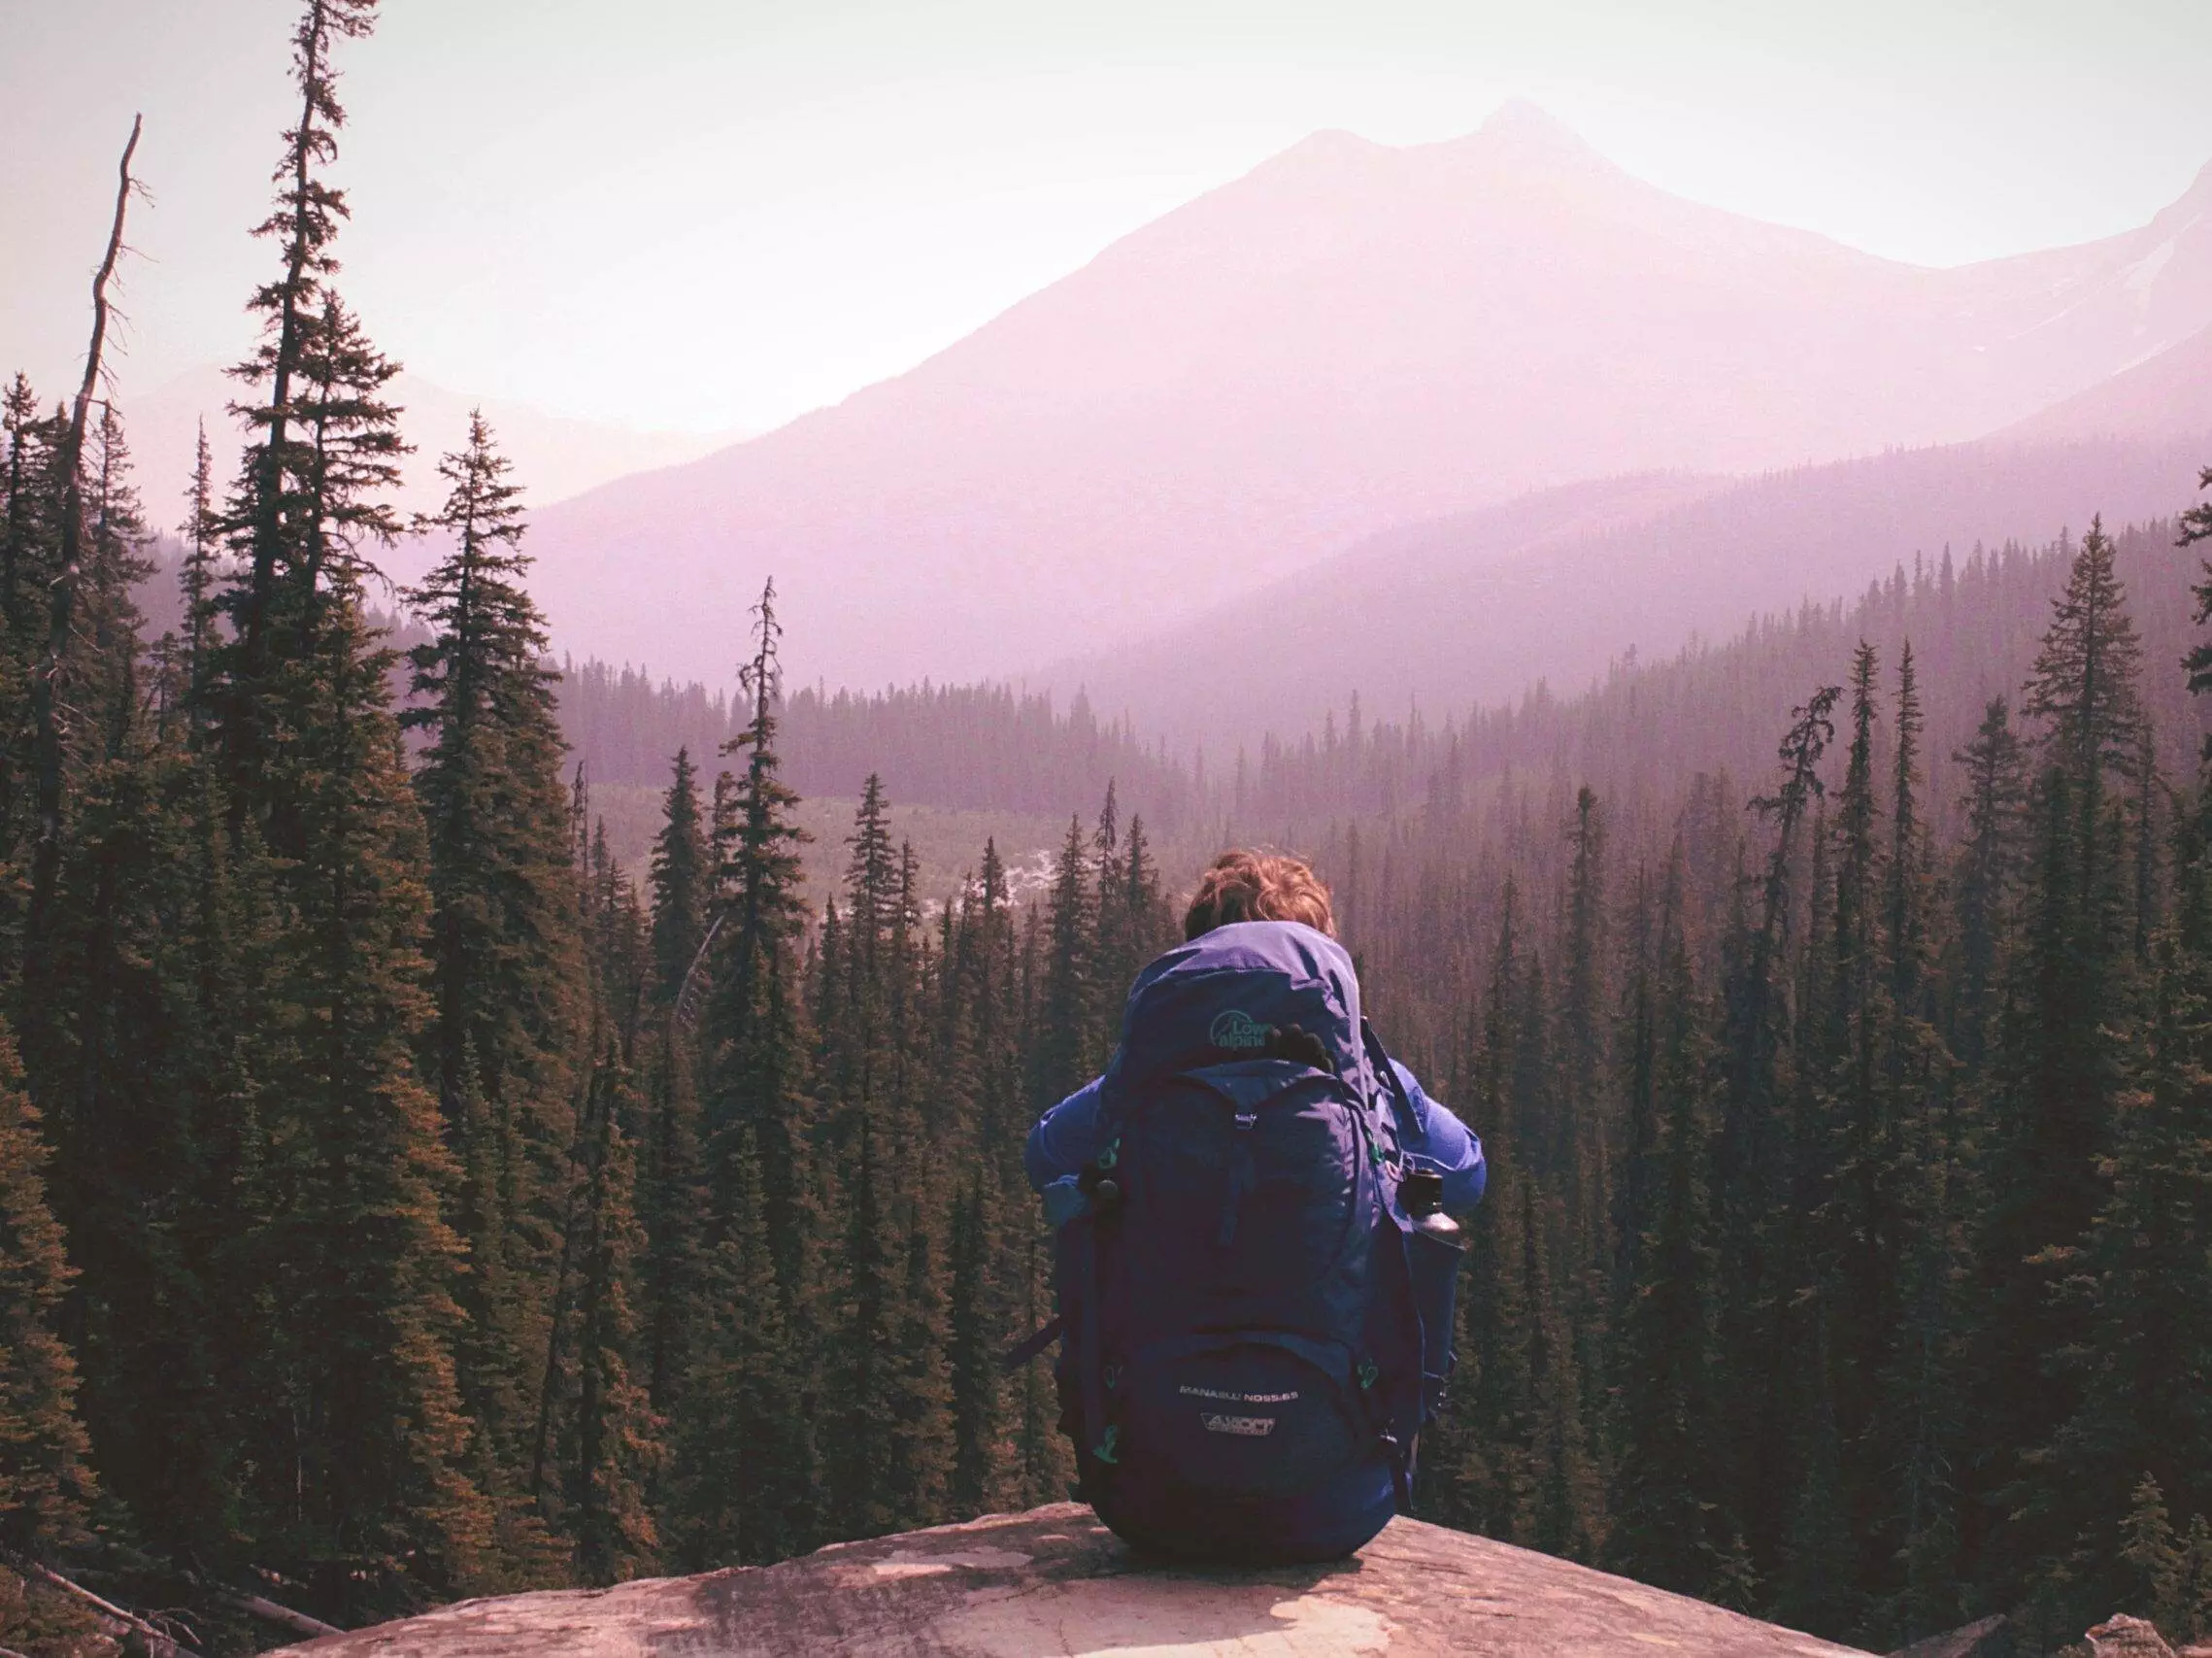
After determining the conditions you are likely to face, you will have a better sense of the necessary gear to bring with you. The most important items in your fastpacking kit are the “Big Three” – your pack, shelter, and sleep system. It’s critical to get these pieces dialed-in to ensure you are comfortable on your trip. It’s also where you can save the most weight by upgrading to ultralight options. Check out Joe’s post on his recommended big three items for more information on these items in particular.
The remainder of your fastpacking kit will look very similar to that of a traditional hiker, although it’ll be stripped down to the bare necessities using the lightest possible components. Andrew Skurka offers a free gear list template on his website that he has used with thousands of clients since 2011 and which covers nearly every possible item you would need for 3-season conditions, including:
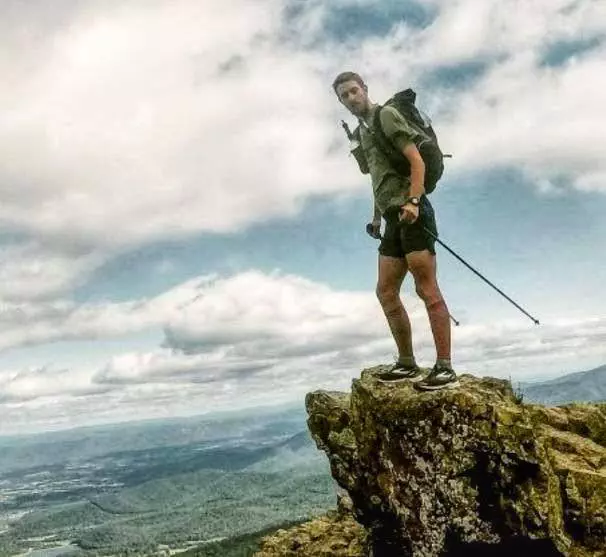
Go Suit. Items that you will hike/run with throughout the day like a shirt, shorts, undergarments, hat, and glasses or sunglasses, and trekking poles.
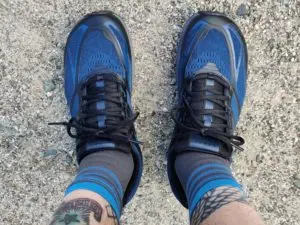
Footwear. Shoes, socks, and gaiters.
Element protection. Rain jacket & pants, midlayer top, gloves & shell mitts, and insulated headwear.
Stop & Sleep. Insulated jacket, sleeping top & bottoms
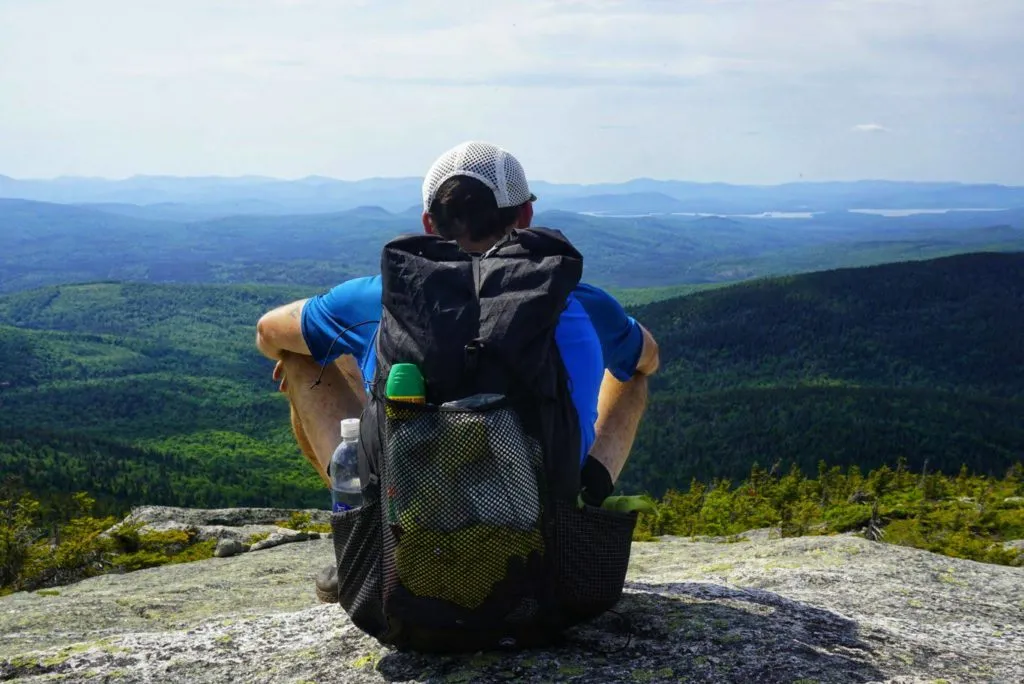
Packing. Backpack, waterproof liner, food storage, and stuff sacks
Shelter. Rainfly or tarp, nest or bivy, and poles, guylines, and stakes
Sleep. Bag or quilt, sleeping pad or underquilt, pillow
Kitchen. Stove, cookpot, fuel, utensil, ignition
Hydration. Primary bottles, secondary storage, primary and secondary water treatment
Navigation. Guidebooks, maps, compass, and/or GPS.
Tools, First Aid, Emergency, & Utility. Headlamp, small knife, first aid kit, bug spray
Personal items. Toothbrush, toilet paper, hand sanitizer, and feminine items.
You won’t need every single item on Andrew’s gear list for every trip — a lot depends on when, where, and for how long you’re going — but it’s a comprehensive and instructive document that will guide you through the process and provide examples and links to helpful information.
How to Train
Define what you are training for. How much time will be spent on my feet each day running and/or hiking? How much distance and elevation gain will I see? Have I train on similar footing/terrain to my route?
Training is a critical component of a successful fastpacking trip. As guides and instructors, we are often asked by clients how to hike farther and faster, and the answer is to go longer, not faster. It sounds counterintuitive, but more time on your feet is the key to unlocking increased mileage, not speed.
The second major component to training for fastpacking is increasing your endurance, both cardiovascular and muscular. This is best achieved through specificity, e.g. training under similar conditions that you expect to face on your trip such as terrain, weather, pack weight, and pace. If you don’t live in a mountainous area, running hill repeats outdoors or on a treadmill and incorporating core and lower body strength exercises into your training can be immensely helpful. Running will provide the most specific
Factors such as your route, goal mileage and vertical gain per day, and past injuries will all factor into your training as well, so we often recommend hiring a coach or taking a course for at least your first trip to ensure you’re physically and mentally prepared. Check out Joe’s article on training that provides even more tips on preparation.
Nutrition & Hydration

This was covered in the “What is Fastpacking” article, but bears repeating, as nutrition and hydration can have a significant impact on the success of your trip. Understanding how many calories you will need to sustain you over the course of your trip and what you should eat to supply that energy are important things to know. If you’ve run ultramarathons or backpacked long distances, you likely have a sense of how much food you’ll need, but it’s not always easy to calculate. Andrew Skurka has an incredibly useful food calculator as well as a breakdown of a weeks’ worth of food which are great places to start when planning nutrition.
When putting together your food, try to be mindful of the “golden ratio” of 100 calories per ounce of weight. Because fats tend to have the highest caloric density, they make great choices for fastpacking foods. Here are a few examples:
- Almonds: 160 calories per ounce
- Peanut butter: 150 calories per ounce
- Pringles: 150 calories per ounce
- Snickers bar: 140 calories per ounce
- Beef jerky: 116 calories per ounce
- Gu gel: 100 calories per ounce
- Apple: 15 calories per ounce
Depending on how much time and space you have, you may also consider bringing a lightweight stove and cooking dehydrated meals for dinner and breakfast. Check out the Backpacking Chef for tons of great recipes or simply pick up some Mountain House meals before you go. More advanced backpackers might be comfortable cold soaking, however I prefer going with entirely pre-done food to avoid the hassle.
Knowing how much water to have with you is dependent on how many sources there are along the way, as you will not be able to carry all your necessary water from the start. Although dependent on the temperature and difficulty of the terrain, you should plan to consume a minimum of two liters per day and have the capacity to store 3-4 liters in case you will be dry camping somewhere without a nearby source. Be sure to have a water treatment plan as well (filter or chemical treatment), since often you can’t be certain of its origin – and getting giardia is a quick way to end your trip.
Safety Tips
As part of your trip planning, it’s essential to account for potential emergency situations. By preparing for them ahead of time through documentation and preparation, you’ll know what to do if things go sideways. As an instructor once told me, “you don’t rise to the occasion in an emergency, you default to your training”. Here are a few ways to get ready:
Where, when, who. Document your exact itinerary and route (with links to maps or GPS files if available), when you expect to start and finish, and who is going with you. Leave this with your emergency contacts upon departure.
Emergency Protocol. Note who your emergency contacts will be and how to get a hold of them, as well as the contact information for the local emergency personnel in the area such as police or National Park Service. Establish a grace period following your expected finish time after which emergency personnel should be mobilized if your contacts have not heard from you.
Stay in touch. Check in with your loved ones or emergency contacts during your trip to let them know your status. This could be a quick text message or phone call if you have cellular service, or could be a message through a 2-way satellite communicator like the Garmin inReach Mini.
Pack the essentials. As noted in the gear list above, items like a map, GPS, firestarter, and first aid should always be a part of your fastpacking kit. Make sure you’re familiar with everything in your pack and know how to use it properly.
Final Thoughts
Fastpacking is an adventure all on its own and you will need to acquire the backcountry skills, knowledge, gear, and physical and mental fortitude necessary for success.
By easing into your first overnight trip using the guidance above, you can build confidence for larger efforts while staying safe and having a great time.
Header Photo by Nguyen Le Viet Anh on Unsplash.
This post contains affiliate links. I earn a small commission on sales via these links at no additional cost to you. If you'd like to support me, please purchase products through the affiliate links. Thanks!
Brandon Chase is a writer, endurance athlete, and guide based in Maine. He is a former Foreign Service Officer with the U.S. Department of State and spent nearly a decade overseas serving at embassies in Egypt, Cyprus, and Pakistan.
Along with a 98-day thru-hike of the Appalachian Trail, he has summited Mt. Kilimanjaro, hiked the West Highland Way, fastpacked in the Himalayas, and trekked around New Zealand and South Africa. He also regularly competes in ultramarathons at the 50k, 50-mile, and 100-mile distances.